How Long Does It Take to Replace a Crankshaft Sensor
Replacing a crankshaft sensor typically takes between 30 minutes to two hours. The time can vary depending on the vehicle model and the mechanic’s skill level.
Replacing a crankshaft position sensor is an essential repair that can significantly affect your vehicle’s performance. The crankshaft sensor plays a critical role in monitoring the position and rotational speed of the crankshaft, information that your car’s computer system uses to control fuel injection and ignition timing.
A faulty sensor can lead to a range of engine problems, from poor fuel economy to a complete failure to start. It’s a task that, although sometimes challenging due to the sensor’s location, can often be accomplished with standard tools and a bit of automotive know-how. Many car enthusiasts with moderate mechanical skills choose to undertake this repair themselves, saving on labor costs and ensuring that their vehicle gets back on the road as soon as possible.
Credit: m.youtube.com
The Role Of A Crankshaft Sensor In Your Vehicle
Your car might seem like a puzzle with countless pieces working together. One essential piece is the crankshaft sensor. This sensor ensures your engine runs smoothly. Let’s explore its functions and signs of failure.
Crankshaft Sensor Function And Importance
The crankshaft sensor plays a vital role in your vehicle. It tracks the crankshaft’s position and speed. The engine control unit (ECU) needs this data to manage fuel injection and ignition timing. Without it, your car might not even start.
- Monitors crankshaft’s position
- Sends data to the ECU
- Regulates fuel injection
- Controls ignition timing
Symptoms Of A Failing Crankshaft Sensor
A bad crankshaft sensor often causes noticeable issues. Look out for these warning signs:
| Symptom | Description |
|---|---|
| Engine Warning Light | This light may come on your dashboard. |
| Erratic Starts | Your car might struggle or fail to start. |
| Stalling Engine | The engine might stop unexpectedly while driving. |
| Poor Acceleration | Your vehicle could feel sluggish or weak when speeding up. |
Spot these signs early to keep your ride smooth and safe. Your mechanic will replace the sensor swiftly once diagnosed, taking around an hour or two. Drive confidently knowing your crankshaft sensor is in check!
Determining The Need For Replacement
Determining the Need for Replacement of a crankshaft sensor is crucial. This component is vital for engine performance. Knowing when to replace it can save time and avoid further damage to your vehicle.
Diagnostic Steps To Confirm Sensor Failure
A faulty crankshaft sensor can cause several problems. It’s imperative to diagnose issues correctly. Here are steps to confirm if the sensor needs replacement:
- Check Engine Light: An illuminated check engine light is a primary indicator.
- Error Codes: Use an OBD-II scanner to read error codes.
- Performance Issues: Poor engine performance often points to sensor trouble.
- Testing: A multimeter can test the sensor’s resistance and voltage.
Common Vehicle Models And Sensor Accessibility
Accessibility of the crankshaft sensor varies by vehicle model. This influences the time needed for replacement:
| Vehicle Model | Sensor Accessibility | Estimated Time |
|---|---|---|
| Honda Civic | Accessible | 1 hour |
| Ford F-150 | Moderate | 1-2 hours |
| Chevrolet Impala | Challenging | 2-3 hours |
These estimated times assume professional mechanic intervention. DIY efforts may vary in time.
Tools And Parts Required For Replacement
Ready to replace your car’s crankshaft sensor? Before diving in, gather the right tools and parts. Doing so makes the process smoother and quicker. This guide lists everything needed for the job.
List Of Essential Tools
Let’s start with tools required to swap out a crankshaft sensor.
- Socket set: For unscrewing the sensor’s bolts.
- Screwdrivers: Flathead and Phillips for prying and unscrewing if needed.
- Wrench set: To tackle hard-to-reach nuts.
- Code reader: To confirm sensor failure and test after installation.
- Flashlight: Illuminating the work area is crucial.
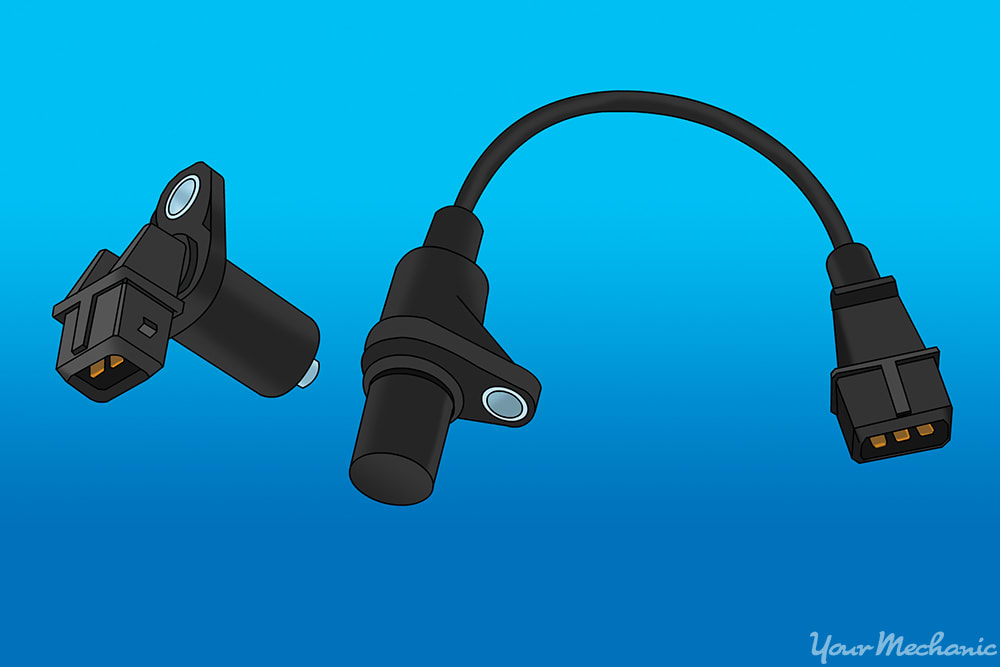
Selecting The Right Sensor For Your Car
Finding the perfect crankshaft sensor is key. A mismatch can lead to more issues. Let’s ensure you get it right.
- Know your car’s make and model: This information narrows down the options.
- Check the part number: Match it with your old sensor for accuracy.
- Quality check: Choose a sensor from a reliable brand for longevity.
- Warranty: Pick a part with a warranty for security.
Credit: www.youtube.com
The Replacement Process
The Replacement Process of a crankshaft sensor might seem daunting, but with a systematic approach, anyone can do it. Gain the confidence to tackle this repair by following a step-by-step guide. The process varies slightly depending on the vehicle, but the basic principles remain the same.
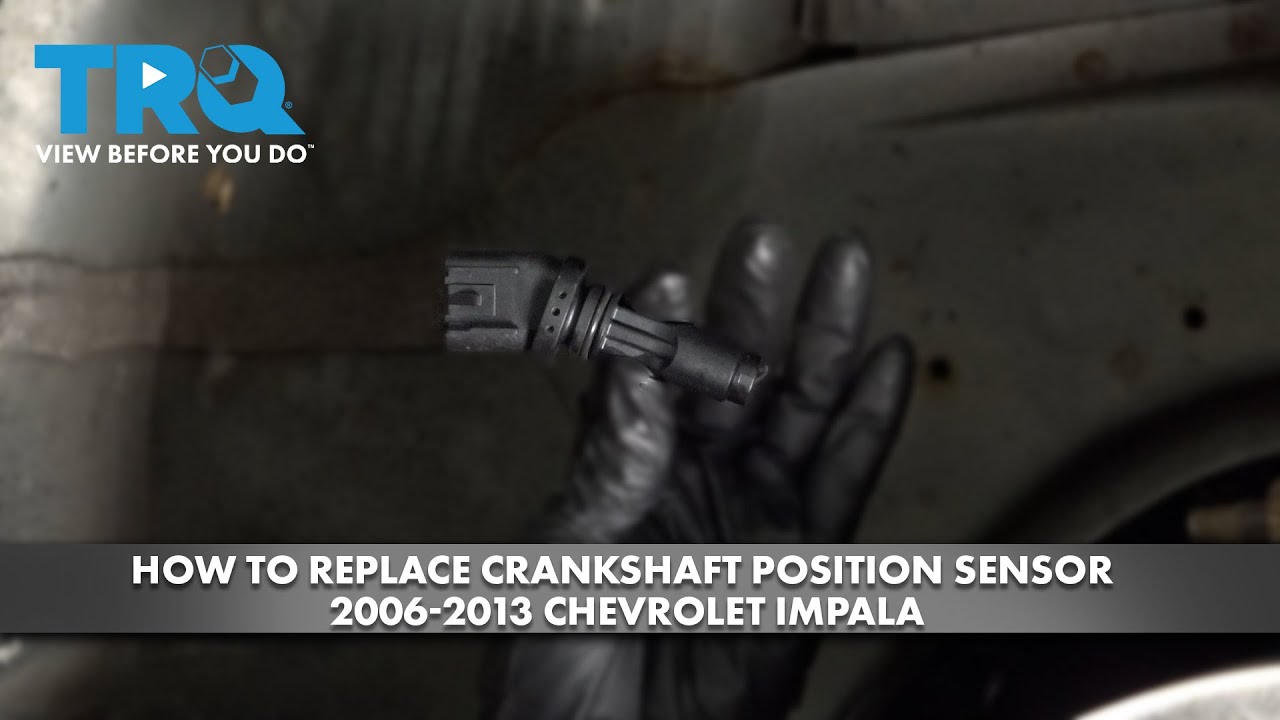
Step-by-step Guide To Replacing A Crankshaft Sensor
- Locate the crankshaft sensor: Usually found near the bottom of the engine.
- Disconnect the battery: Ensures safety from electric shocks.
- Remove any obstructing parts: Gain access to the sensor.
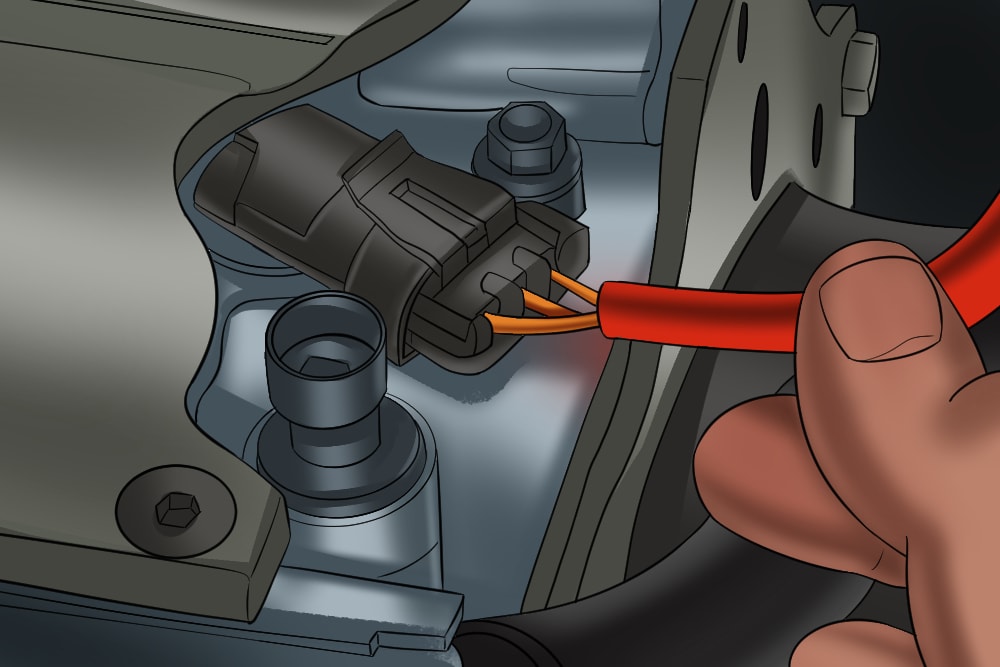
- Unplug the sensor: Disconnect the wiring harness carefully.
- Unscrew the sensor: Use proper tools to remove it.
- Compare the old and new sensors: Ensure they match for compatibility.
- Install the new sensor: Align and secure it in place.
- Reconnect the wiring harness: Make sure it snaps in securely.
- Reassemble any removed parts: Put everything back in order.
- Reconnect the battery: Power the vehicle and test the sensor.
Safety Considerations During Replacement
- Wear safety gloves and goggles to protect from injury.
- Use the right tools for the job to avoid damaging the parts.
- Work in a well-lit area to see precisely what you’re doing.
- Follow the manual for specific safety steps of your car model.
- Double-check connections before starting the engine.
Time Factors Influencing Replacement
Knowing how long it takes to replace a crankshaft sensor helps prepare for the task.
Whether you’re planning a DIY project or heading to the garage, time is a crucial factor.
Estimated Time For Professional Versus Diy Replacement
A professional mechanic can usually replace your crankshaft sensor in about 1 to 2 hours.
For those choosing DIY, 3 to 4 hours are often necessary for a thorough job.
| Replacement Type | Estimated Time |
|---|---|
| Professional | 1–2 hours |
| DIY | 3–4 hours |
Variables That Affect Replacement Duration
Several factors can affect the time it takes to replace a crankshaft sensor.
- Vehicle Make and Model: Different vehicles have unique designs.
- Engine Space: Tight engine spaces make the job harder.
- Tool Availability: Proper tools speed up the process.
- Experience Level: More experience means faster replacement.
- Condition of the Vehicle: Rust and wear can slow you down.
After Replacement: What To Expect
Swapping out a crankshaft sensor can rejuvenate your car’s performance. But what happens after the mechanic’s tools are down? This section guides you through the immediate follow-up steps.
Calibration And Testing Post-replacement
Right after a new crankshaft sensor installation, the vehicle’s engine management system needs recalibration. This ensures the sensor reads accurately. Your mechanic should tackle this; it’s quick and crucial.
Initial Calibration: The car connects to a diagnostic tool. The mechanic ensures all engine codes are clear.
Test Drive: They’ll likely take a short drive. They’re watching for smooth performance and error codes.
Final Scans: After the drive, they’ll scan again. This double-check ensures there are no lingering issues.
Monitoring Vehicle Performance And Potential Issues
- Keep an Eye on Dashboard Lights: No warning lights should flash. If they do, seek help.
- Notice Unusual Behavior: Listen for strange noises or jerky movements. These could signal a problem.
- Check Engine Code Reader: These handy tools can preemptively alert to troubles. They’re worth the investment.
Regular Checks: Post-replacement, monitor for at least a month. Quick detection of issues prevents bigger problems.
Credit: www.yourmechanic.com
Frequently Asked Questions For How Long Does It Take To Replace A Crankshaft Sensor
What Is A Crankshaft Sensor’s Role?
A crankshaft sensor monitors engine rotational speed and position. It ensures optimal timing for fuel injection and ignition, helping the engine run efficiently. Without it, engines may experience poor performance or not start.
How Long Does Sensor Replacement Take?
Replacing a crankshaft sensor typically takes 1-2 hours. However, it depends on the vehicle model and the mechanic’s skill level. Some models provide easy sensor access, while others require additional component removal and therefore more time.
What Influences Crankshaft Sensor Replacement Time?
Factors influencing replacement time include vehicle make/model, sensor location, and mechanic experience. Accessibility and any additional repairs needed can also affect the timeframe. Each vehicle might present unique challenges to consider.
Can I Drive With A Faulty Crankshaft Sensor?
Driving with a faulty crankshaft sensor is not recommended. A malfunctioning sensor can lead to engine stalling, poor performance, and increased fuel consumption. It can also result in an inability to start the engine, posing a risk while driving.
Conclusion
Understanding the time involved in replacing a crankshaft sensor is crucial for vehicle maintenance. Typically, the job takes between 1 to 2 hours. Always refer to your manual or consult a professional for the best results. Remember that timely repairs can save you from future hassles and expenses.
Keep your car running smoothly by addressing issues like these promptly.