How to Replace Rear Wheel Bearing
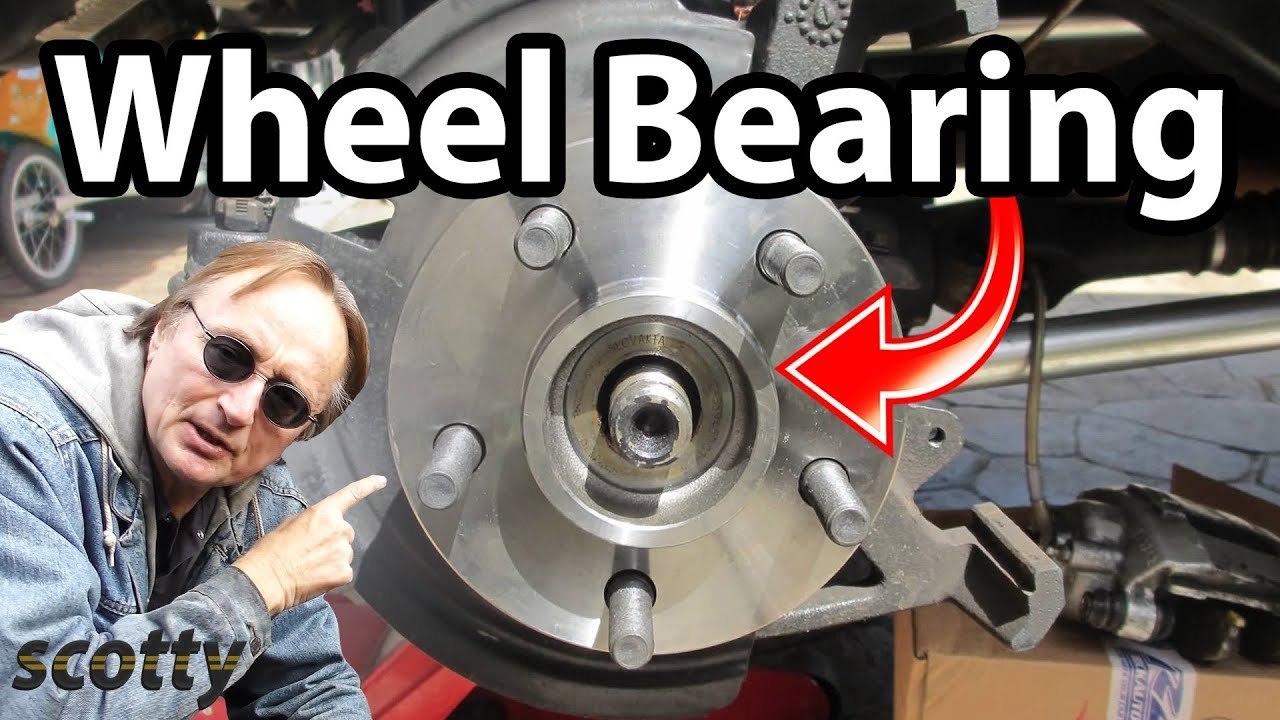
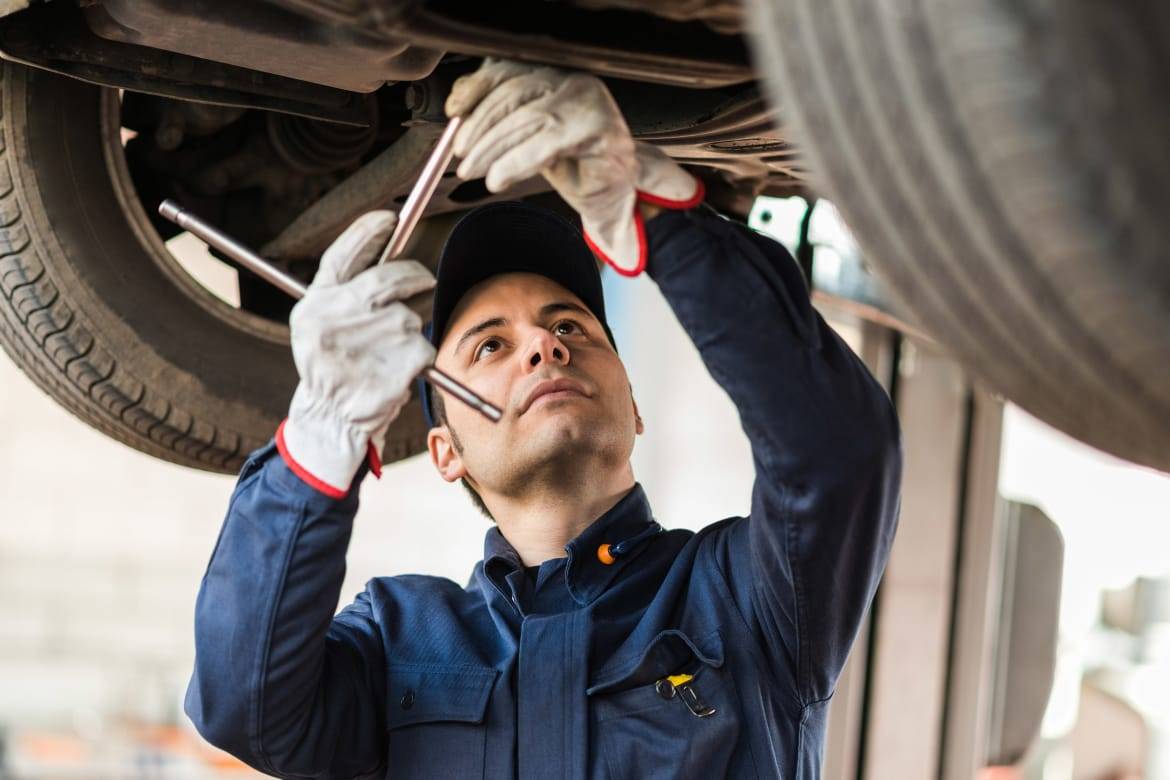
To replace a rear wheel bearing, first, elevate and secure the car. Then, remove the wheel and brake components to access the bearing assembly.
Replacing the rear wheel bearing of your vehicle is a critical repair for maintaining smooth and safe driving. This procedure requires attention to detail and some mechanical proficiency. Typically, a wheel bearing wears out due to heavy mileage or severe driving conditions, leading to noisy or wobbly wheels.
Taking on this task saves you from potential hazards while extending the lifespan of your tires and improving overall vehicle performance. A DIY approach can be economical if you have the right tools and follow a reliable guide. Ensuring that you replace the wheel bearings in pairs and get an alignment check afterward is essential for optimal results and safety.

Credit: m.youtube.com
Introduction To Rear Wheel Bearing Replacement
Rear wheel bearings may seem small, but they’re crucial for a smooth ride. They let your wheels spin with minimal friction. Over time, like any car part, they can wear out. Knowing how to replace them keeps your ride safe and comfortable. It’s a task you can do at home with some tools and patience.
Signs Of A Faulty Rear Wheel Bearing
- Noise like grinding or growling when the vehicle is moving.
- Car feels loose or unstable on the road.
- Uneven tire wear can be a sign.
- Steering issues, especially when turning or at certain speeds.
Importance Of Timely Bearing Replacement
Ignoring bad bearings can lead to big problems. Your wheel might even stop spinning! This is dangerous. Early fixes save money too. Change them quickly to protect other car parts from damage. Regular checks help catch issues before they worsen. Always replace both sides together for balanced driving. Take care of your rear wheel bearings to ensure your ride stays smooth and safe.

Credit: shufti.blog
Tools And Materials Needed
Starting the process of replacing your rear wheel bearing requires the right toolkit. Gather these tools and materials before you begin to ensure a smooth operation. A successful replacement hinges on preparation. Safety is the priority.
List of Essential Tools for The Job
List Of Essential Tools For The Job
Here’s a compiled list of necessary tools for your wheel bearing replacement job:
- Socket set: For various nuts and bolts.
- Torque wrench: Ensures proper tightness.
- Screwdrivers: Assists in removing components.
- Hammer: Helps with stubborn parts.
- Jack and jack stands: Lift and support the car.
- Bearing press or puller: Extracts and installs bearings.
- Wrench set: Offers leverage on different fasteners.
- Pliers: Grips, twists, and holds small parts.
Safety Equipment and Precautions
Safety Equipment And Precautions
Adhere to these safety measures:
| Equipment | Precautions |
|---|---|
| Gloves: | Protects hands. |
| Safety glasses: | Shields eyes from debris. |
| Steel-toed boots: | Guards feet from heavy objects. |
| Ear protection: | Reduces noise from tools. |
| Dust mask: | Prevents inhalation of particles. |
Work in a well-ventilated area. Use jack stands, never rely on a jack alone. Ensure the car is stable before work begins. Keep a first-aid kit nearby.
Preparing Your Vehicle
Before you dive into the task of replacing a rear wheel bearing, it’s crucial to prepare your vehicle properly. You’ll need a series of tools and safety measures to ensure a smooth process. Let’s break down the steps, ensuring you’re ready to tackle the job with confidence.
Securing The Car And Removing The Wheel
Ensuring your safety is the top priority.
- Park on a flat surface and apply the parking brake.
- Place wheel chocks around the front tires.
- Loosen the lug nuts on the rear wheel before lifting the car.
- Use a jack to elevate the vehicle and secure it on jack stands.
- Remove the lug nuts completely and take off the wheel.
Disassembling Brakes And Components
Accessing the wheel bearing requires removing parts.
- Start by taking off the caliper bolts.
- Secure the caliper to avoid tension on the brake line.
- Remove the brake caliper bracket.
- Take out the brake rotor; this might need gentle taps.
- Inspect the parts and clean any dirt and debris.
Removing The Old Wheel Bearing
Wheel bearings play a crucial role in the smooth operation of your vehicle. They ensure wheels rotate efficiently without too much friction. Over time, bearings may wear down and need replacement. Before installing a new bearing, you must remove the old one carefully. This guide outlines each step to safely and effectively remove the old wheel bearing from your vehicle.
Steps To Dislodge The Bearing Hub
Removing a wheel bearing requires precision and attention to detail. Follow these steps to effectively dislodge the bearing hub:
- Park your vehicle on a flat surface, and ensure it remains stationary by applying the parking brake.
- Loosen the lug nuts on the rear wheel before lifting your vehicle with a jack.
- Remove the wheel to expose the bearing hub.
- Take off the brake caliper and mounting bracket to avoid any damage while working.
- Unscrew the hub assembly bolts with a socket wrench.
- Use a slide hammer or hub puller to gently remove the hub from the axle shaft.
- Inspect the axle shaft for any signs of wear or damage before proceeding.
Cleaning The Hub Cavity
With the old wheel bearing removed, it’s important to clean the hub cavity before installing a new bearing:
- Clear out debris and rust from the hub cavity.
- Use a wire brush for stubborn residue.
- Spray brake cleaner to dissolve any remaining grime and allow it to dry.
- Ensure the cavity is clean, dry, and free from obstructions.
A tidy hub cavity ensures the new bearing fits perfectly and operates without issues.
Installing The New Rear Wheel Bearing
Embarking on the installation of your new rear wheel bearing marks the final stretch of your repair journey. With the old bearing out, you’ll be giving your wheel new life and ensuring a smoother ride. The process demands precision and attention to detail. Let’s ensure that new bearing fits in as snugly and securely as it should.
Correctly Positioning The New Bearing
Proper alignment is crucial for the new bearing. An incorrectly installed bearing leads to premature wear. First, clean the hub surface where the bearing will sit, removing any debris or rust. Apply a thin layer of grease to the bearing seat for lubrication and rust prevention.
- Confirm the orientation of the bearing.
- Align it with the hub’s installation cavity.
- Gently press the bearing into place.
Tip: Use a bearing driver tool to evenly insert the bearing without damage.
Reassembly Of Hub And Brake Components
With the new bearing seated, it’s time to reassemble the hub and brakes. Patience and correct sequence in reassembly avoid future issues. Begin by attaching the hub back onto your vehicle.
| Step | Action | Tool Needed |
|---|---|---|
| 1 | Place hub on the axle. | None |
| 2 | Tighten hub bolts. | Socket Wrench |
| 3 | Install rotor over hub. | Screwdriver |
| 4 | Attach caliper. | Socket Wrench |
| 5 | Secure brake pads. | None |
Double-check all connections and ensure everything is tight and secure. The reassembly is not complete without giving your brakes a thorough inspection. Replace any worn components.
- Inspect brake lines for leaks.
- Check brake fluid levels.
- Look at brake pads for wear.
Finalize with a test spin of the hub to confirm smooth operation. If it rotates freely without noise, the installation is a success. Reattach the wheel, lower the car from the jack stands, and enjoy a safer drive with your new rear wheel bearing.
Final Checks And Road Testing
After replacing your rear wheel bearing, perform final checks and a road test. These essential steps confirm a successful installation. Ensuring everything is in order prevents future problems and guarantees a smooth, safe ride. Follow the procedures below to wrap up your wheel bearing replacement task.
Ensuring Torque Specifications Are Met
Proper torque application ensures wheel bearing longevity and safety. Confirm all bolts match the vehicle manufacturer’s specifications. Use a torque wrench for precision. Record the torque values for future reference.
- Check the hub nut torque.
- Verify the wheel lug nuts meet specifications.
- Recheck after a short drive, as they can settle.
Correct torque prevents premature bearing wear and wheel detachment risks.
Verification Through Test Drive
A test drive helps detect issues early. Listen for unusual sounds indicating incorrect installation or defective parts. Start with a slow drive in a safe area, then gradually increase speed. Pay attention to steering performance and braking behavior.
- Begin with low-speed maneuvers.
- Monitor for abnormal vibrations or noises.
- Increase to highway speeds, observing handling.
Smooth, quiet operation confirms a successful replacement. Any issues require immediate inspection and correction.
Maintenance Tips For Wheel Bearings
Wheel bearings play a crucial role in the smooth operation of your vehicle. They allow your wheels to rotate with minimal friction. Proper maintenance ensures longevity and performance. Below are tips to keep your wheel bearings in top condition.
Regular Inspection Schedules
Set up a schedule to inspect wheel bearings regularly. This can prevent unexpected failures and maintain safety. Consider these guidelines:
- Check your wheel bearings with every oil change.
- Listen for grinding sounds which can indicate bearing wear.
- Visually inspect for grease leaks around the wheel end.
Use a certified mechanic for thorough inspections.
Longevity Practices For Wheel Bearings
Extend your wheel bearings’ life with these best practices:
- Avoid driving through deep water or mud to prevent contamination and corrosion.
- Keep wheels and brakes clean of grime and debris.
- Ensure proper torque during wheel bearing installation.
Avoid overloading your vehicle as it increases stress on the bearings.
Frequently Asked Questions On How To Replace Rear Wheel Bearing
What Tools Do I Need For Wheel Bearing Replacement?
To replace a rear wheel bearing, you’ll need a jack, jack stands, a lug wrench, socket set, screwdrivers, a hammer, and a bearing press or puller. It’s vital to have the correct equipment to ensure safety and effectiveness of the repair.
How Do I Know If My Rear Wheel Bearing Is Bad?
Signs of a failing rear wheel bearing include unusual noises like grinding or roaring from the wheel area, wobbling wheels, uneven tire wear, and vehicle pulling while braking. Immediate attention is recommended to maintain safe driving conditions.
How Often Should Wheel Bearings Be Replaced?
Wheel bearings don’t have a set replacement interval but should be checked regularly for signs of wear and tear. Typically, they are expected to last approximately 85,000 to 100,000 miles. Regular inspections are essential for timely maintenance.
Can I Replace Wheel Bearings Myself?
Yes, with the right tools and mechanical knowledge, you can replace wheel bearings yourself. However, it can be complicated. Complete adherence to safety procedures and vehicle-specific instructions is crucial to avoid any potential hazards or future issues.
Conclusion
Replacing your rear wheel bearing can seem daunting, but it doesn’t have to be. With the right tools and a bit of patience, you’ve learned that it’s a manageable DIY task. Remember, ensuring your vehicle’s safety and performance is paramount; don’t hesitate to consult a professional if needed.
Regular maintenance keeps your rides smooth and worry-free. Stay safe on the roads!

