How to Fix Ac Evaporator Leak in Car
To fix an AC evaporator leak in a car, first, pinpoint the exact location of the leak. Next, seal it with an epoxy or replace the evaporator if necessary.
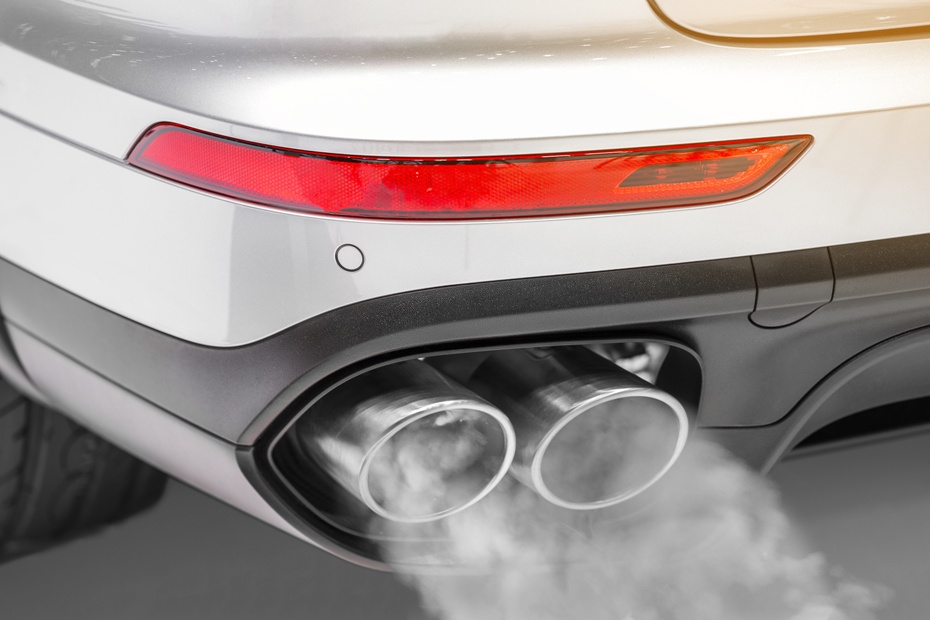
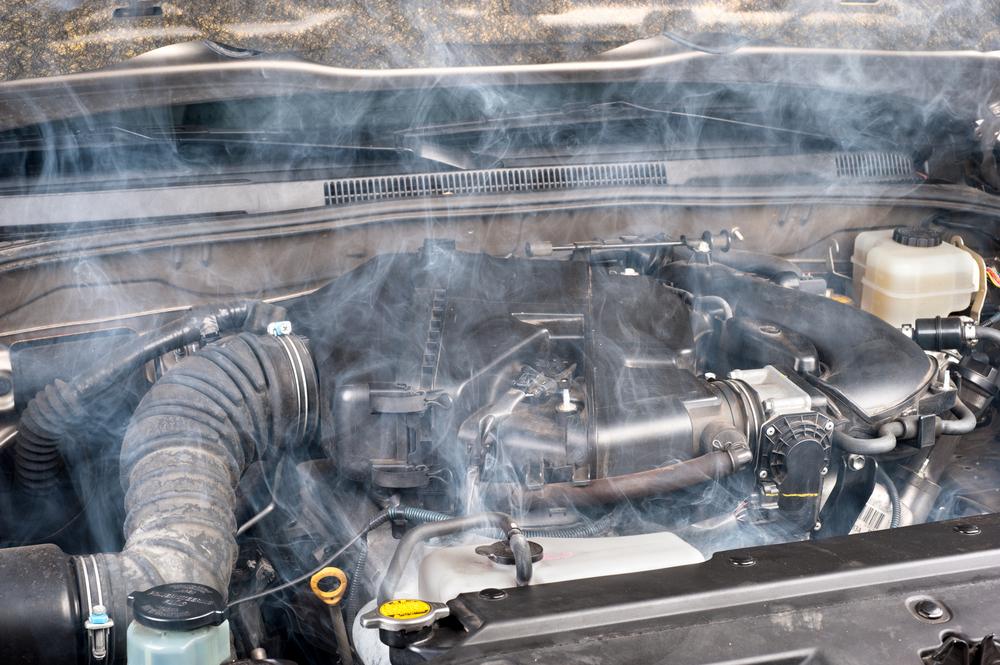
Car air conditioning problems can be a real hassle, especially when they involve an AC evaporator leak. This issue can lead to inefficient cooling and a potential increase in fuel consumption. A malfunctioning AC system can make every drive uncomfortable, especially during the summer months.
Detecting and addressing evaporator leaks early on is crucial to restore your car’s air conditioning to its full function. This guide offers practical insight to help you troubleshoot and resolve evaporator issues, ensuring a cooler and more pleasant in-car environment. By maintaining your vehicle’s AC system properly, you can avoid the inconvenience of a breakdown at the worst possible times.
Signs Of An Ac Evaporator Leak
Identifying an AC evaporator leak early can save you from a sweltering drive on a hot day. Your car’s AC system is complex. It needs every part working well to cool your car. The evaporator is key to this. A leak in the AC evaporator can lead to bigger issues. Spotting the signs early is crucial. Look out for these warnings to keep your cool on the road.
Unusual Odors Inside The Car
Musty smells often signal an evaporator leak. This happens when refrigerant leaks and mixes with air. The mix causes a foul odor. If your car starts to smell odd, check your AC system first.
Weak Airflow From Vents
- Notice your vents. Are they not blowing air like before? This may mean a leak. Less refrigerant in the system leads to less pressure. Less pressure means weak airflow.
- If adjusting the fan speed doesn’t increase airflow, suspect a leak.
Inconsistent Cooling
| Temperature | Cooling Quality |
|---|---|
| Start of Drive | May Cool Well |
| After Some Time | Starts to Warm |
An AC evaporator leak can cause cooling to be inconsistent. Your car might start off cold. But as you drive, you might notice it gets warmer. This change says there might be a leak.
Basic Tools And Materials Needed
Repairing an AC evaporator leak in your car is critical for a cool, comfortable drive. Before you start, gather the right tools and materials. Proper preparation ensures a smoother repair process. Below, find out exactly what you’ll need.
Refrigent Leak Detector Or Uv Dye
Identifying the leak is the first step. A refrigerant leak detector or UV dye helps spot the exact location. Leak detectors sense refrigerant gases in the air. On the other hand, UV dye, when run through the system and exposed to a UV light, shows the leak clearly.
Protective Gears
Your safety matters. Use gloves and safety goggles to protect your hands and eyes from the refrigerant. It’s a toxic substance that can cause injury. Wear long sleeves and breathable pants to shield your skin too.
Replacement Parts For The Evaporator System
At times, parts of the evaporator system may be too damaged for repair. Have replacement components on hand. Essential replacements include seals, o-rings, and the evaporator core itself. Confirm part compatibility with your vehicle model before purchasing.
| Tool/Material | Type | Function |
|---|---|---|
| Refrigerant Leak Detector | Electronic/UV | Locates leaks |
| Protective Gloves | Safety Gear | Protects hands |
| Evaporator Core | Replacement Part | Key component of AC system |
- Leak detector for pinpointing issues
- Safety goggles to shield eyes from chemicals
- Replacement parts for fixing damaged components
Equipped with the right tools, you can tackle the evaporator leak effectively. Remember that a well-maintained system leads to better performance and less wear over time.
Locating The Ac Evaporator Leak
Your car’s AC evaporator plays a crucial role in cooling your vehicle. Identifying a leak in this component is key to ensuring your AC runs smoothly. Let’s explore how to find that sneaky leak.
Using A Leak Detector
Leak detectors are your go-to tools for finding evaporator leaks. They work by sensing refrigerant fumes in your system. Follow these steps:
- Power on the leak detector and calibrate it as per the manual.
- Pass the detector over the AC evaporator area.
- Listen for the alarm that indicates a leak.
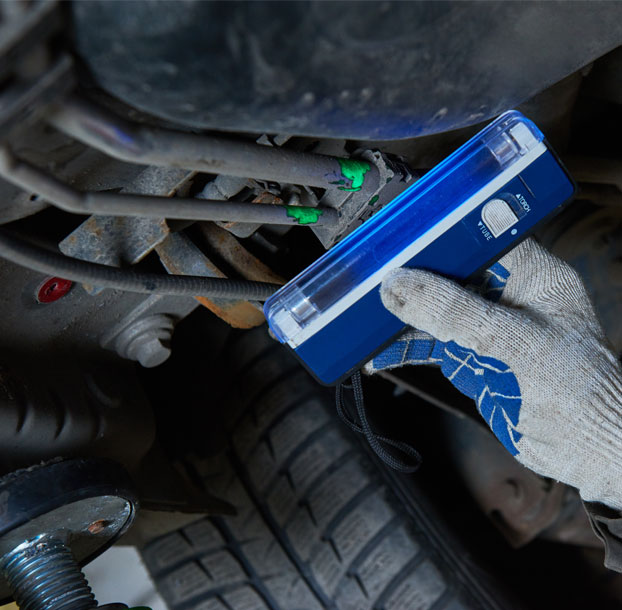
Visual Inspection With Uv Dye
Injecting UV dye into the AC system illuminates the problem area under UV light. Here’s what to do:
- Turn the AC on and let the system circulate the dye.
- After a few minutes, shut the engine off.
- Inspect the evaporator with a UV lamp to spot the leaks.
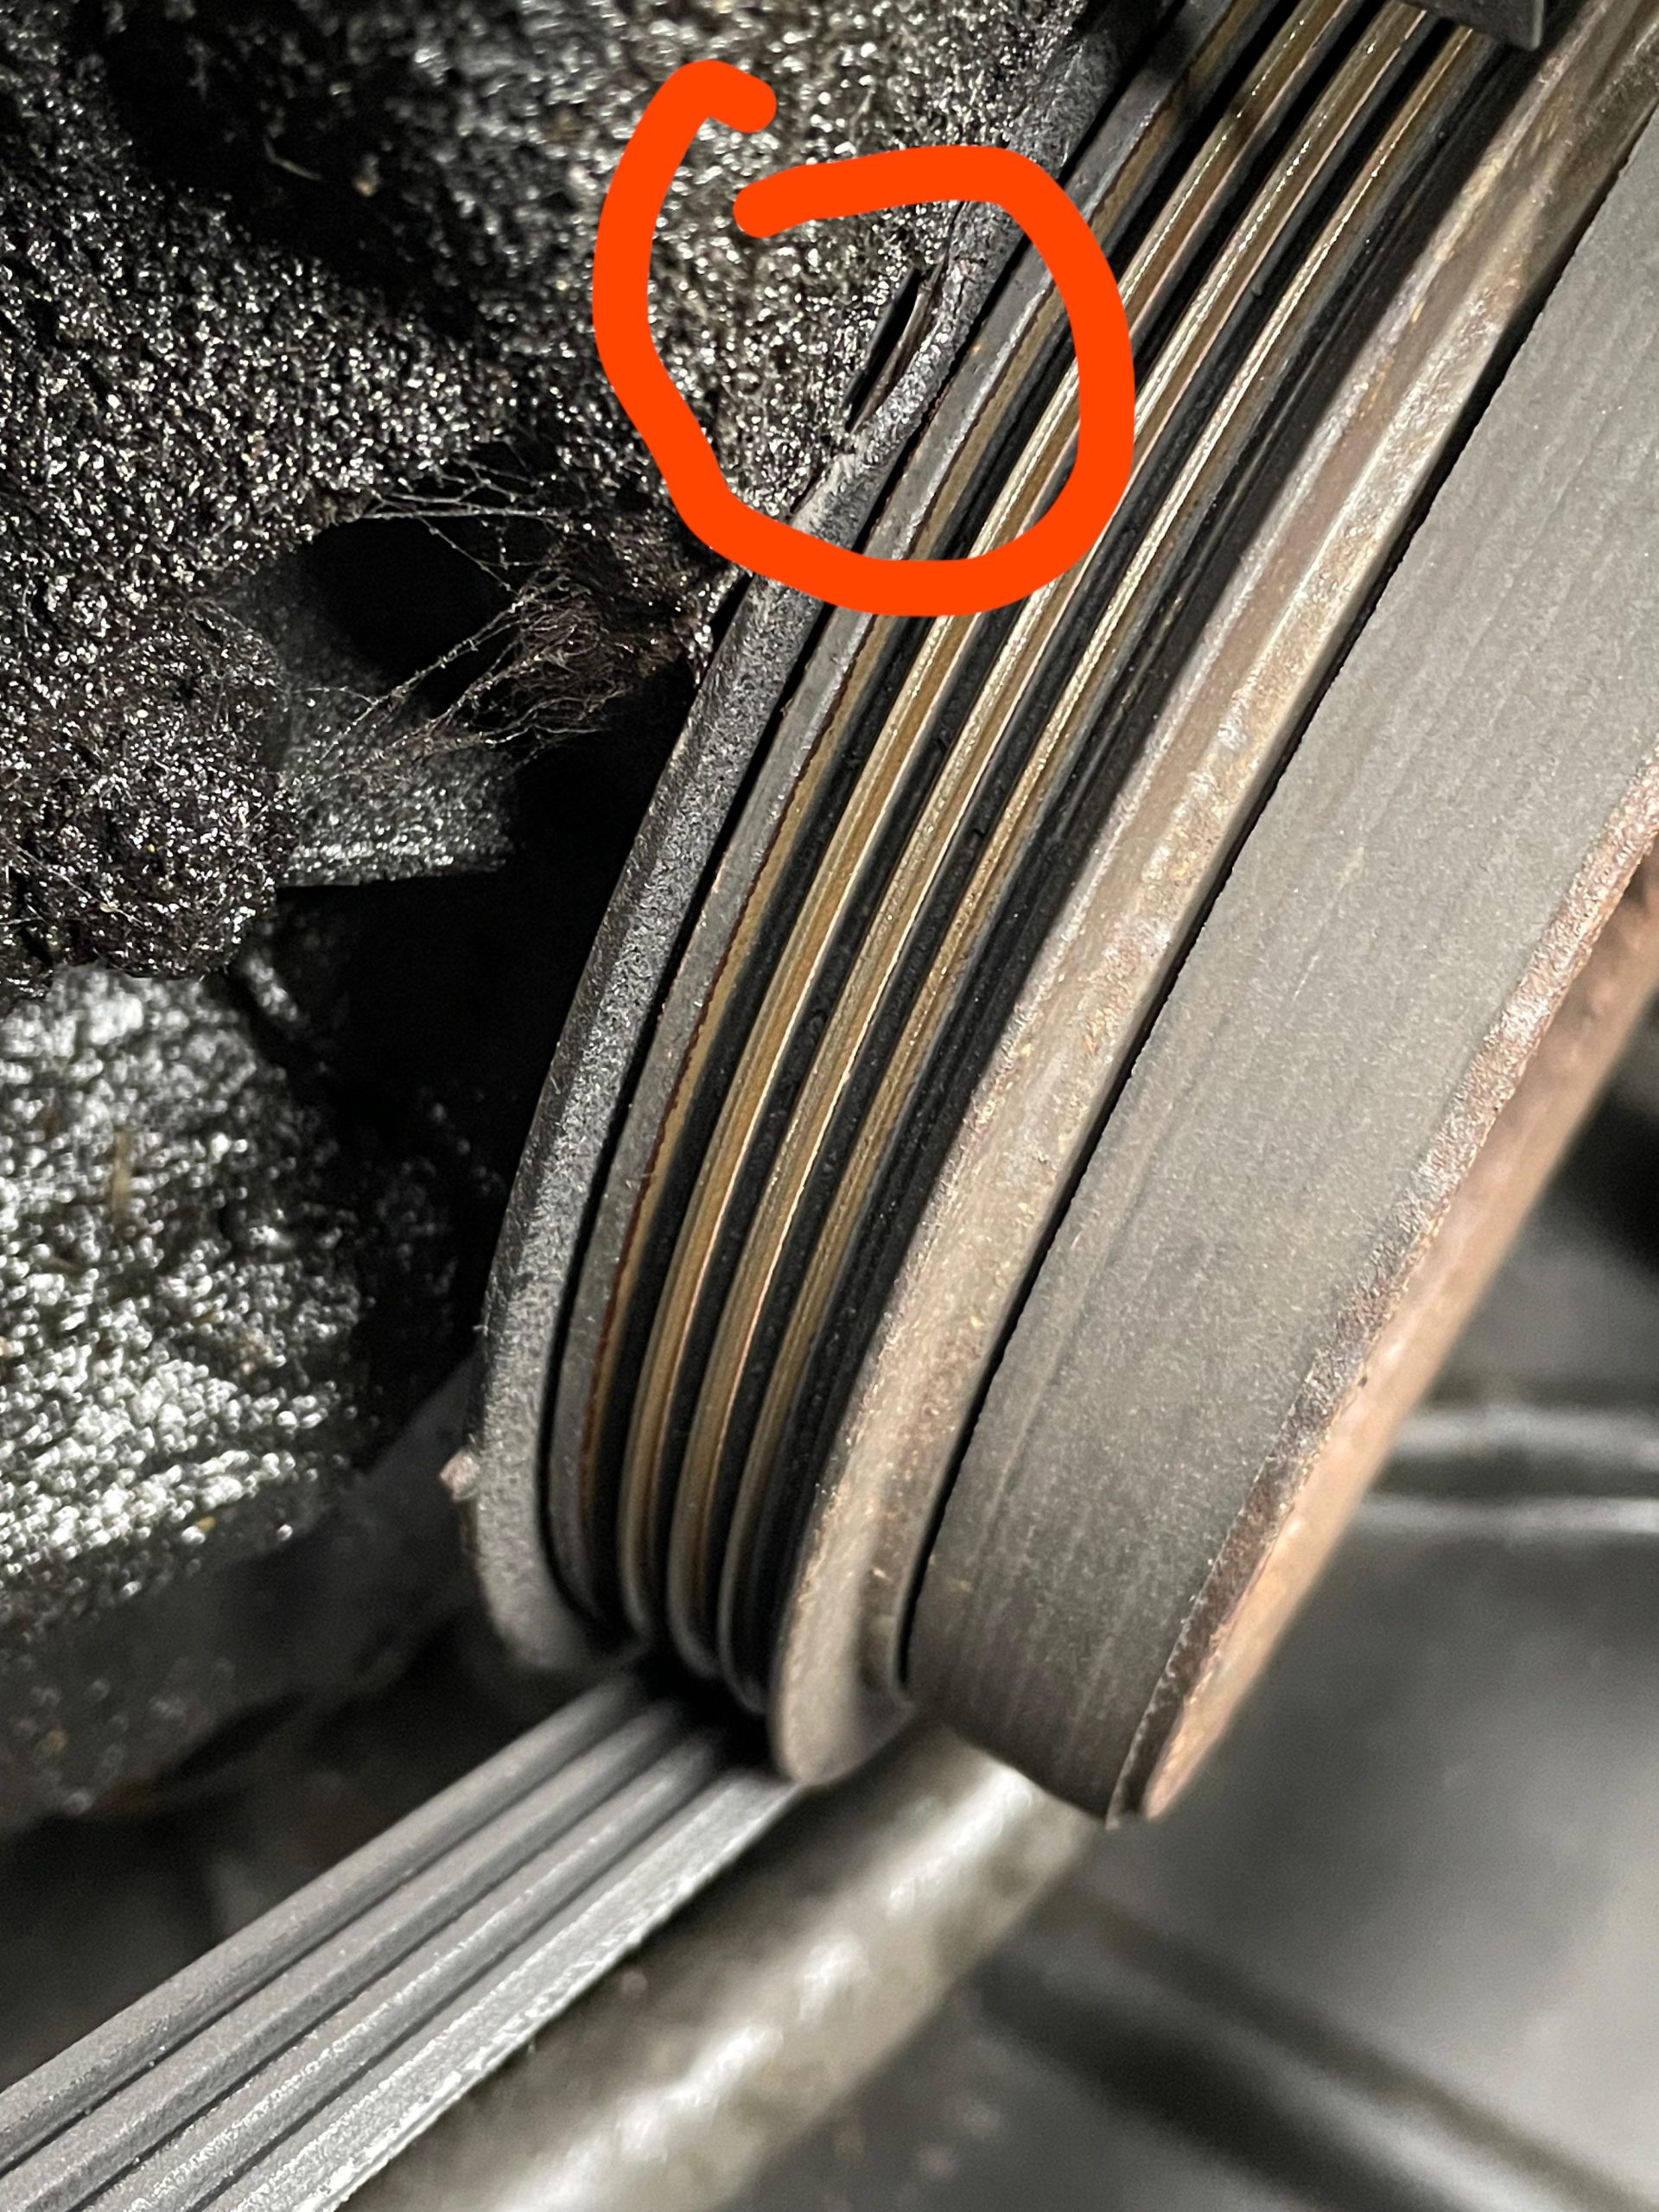
Checking For Oily Residues
The AC system has oil that can leak out with the refrigerant. Look for these signs:
| Step | Action |
|---|---|
| 1 | Carefully examine the evaporator coils. |
| 2 | Look for any signs of oil or greasy substance. |
| 3 | Locate any wet spots that indicate a leak. |
Remember, take action quickly to prevent further damage. These steps should guide you to the elusive leak. If uncertain, consult a certified mechanic for expert help.
Credit: www.rycompressors.com
Methods To Fix The Leak
Discovering a leak in your car’s AC evaporator can be a sticky situation. The comfort of your drive depends on a fully functioning air conditioning system. Understanding how to fix an evaporator leak will save you time and money. Let’s explore some effective methods.
Sealant Use For Minor Leaks
Finding a minor leak in your AC evaporator? Sometimes, a quick fix is within arm’s reach. A sealant might be the solution. These are steps to use a sealant:
- Purchase a reliable AC sealant. The market offers various options.
- Locate the system’s low-pressure service port. This is where you’ll administer the sealant.
- Follow the sealant instructions carefully. Each product has a unique application process.
- Run your car and AC system. Allow the sealant to circulate and plug the leak.
Evaporator Core Replacement
Sometimes a sealant won’t cut it. A damaged evaporator core needs a replacement. Here is what you need to know:
- Drain the refrigerant properly. You don’t want to harm the environment.
- Dismantle the dashboard with care. Reach the evaporator housing.
- Remove the old evaporator core. It requires precision and attention.
- Install the new core. Ensure it fits perfectly to avoid future leaks.
- Recharge the AC system. This involves refilling the refrigerant.
- Test your air conditioner. Confirm the issue is resolved.
Professional Repair Vs Diy
| Professional Repair | DIY Approach |
|---|---|
| Expert diagnosis of the problem. | Research and self-diagnose. |
| Quality repair with warranties. | Risk of incorrect repairs. |
| Higher initial cost. | Potential savings on labor. |
| Time-saving convenience. | Time-consuming efforts. |
When considering a professional repair or a DIY approach, assess your skill level and the severity of the leak. Minor leaks may be manageable on your own. Major issues often require an expert’s touch.
Doing The Repair Step By Step
Are you facing problems with AC leaks in your car? The evaporator core could be the culprit. Fixing your car’s AC evaporator leak might sound complex but following specific steps diligently ensures a smooth repair. Let’s dive into the repair, step by step, focusing on safety, disassembly, and the actual replacement of the evaporator core.
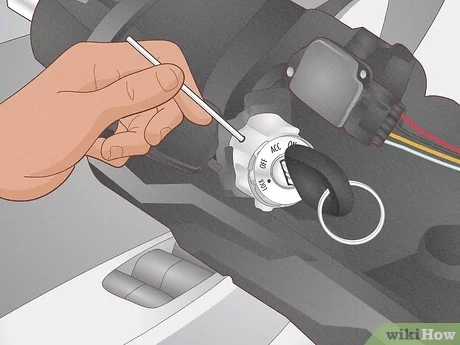
Safety Precautions
- Disconnect the battery: Prevent electric shock by disconnecting the car’s battery before starting.
- Wear protective gear: Gloves and safety glasses are a must.
- Ventilate the freon: Ensure proper ventilation for refrigerant gases.
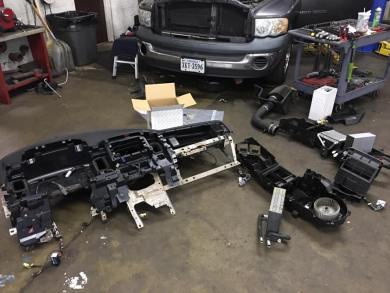
Removing The Dashboard
- Clear the area: Remove any objects from the dashboard.
- Detach the panels: Carefully take off dashboard panels with a screwdriver.
- Unscrew the dashboard: Use a wrench to remove screws holding the dashboard in place.
- Lift away the dashboard: Carefully lift out the dashboard to expose the evaporator housing.
Replacing The Evaporator Core
With the dashboard removed:
- Locate the evaporator housing: Find it near the glove box or center console.
- Remove housing screws: Use a screwdriver to remove the fasteners.
- Take out the old core: Gently remove the faulty evaporator core.
- Install the new core: Place the new core in the housing.
- Reassemble the housing: Replace the screws to secure the housing.
- Test the system: Ensure the system is leak-free and functioning correctly.
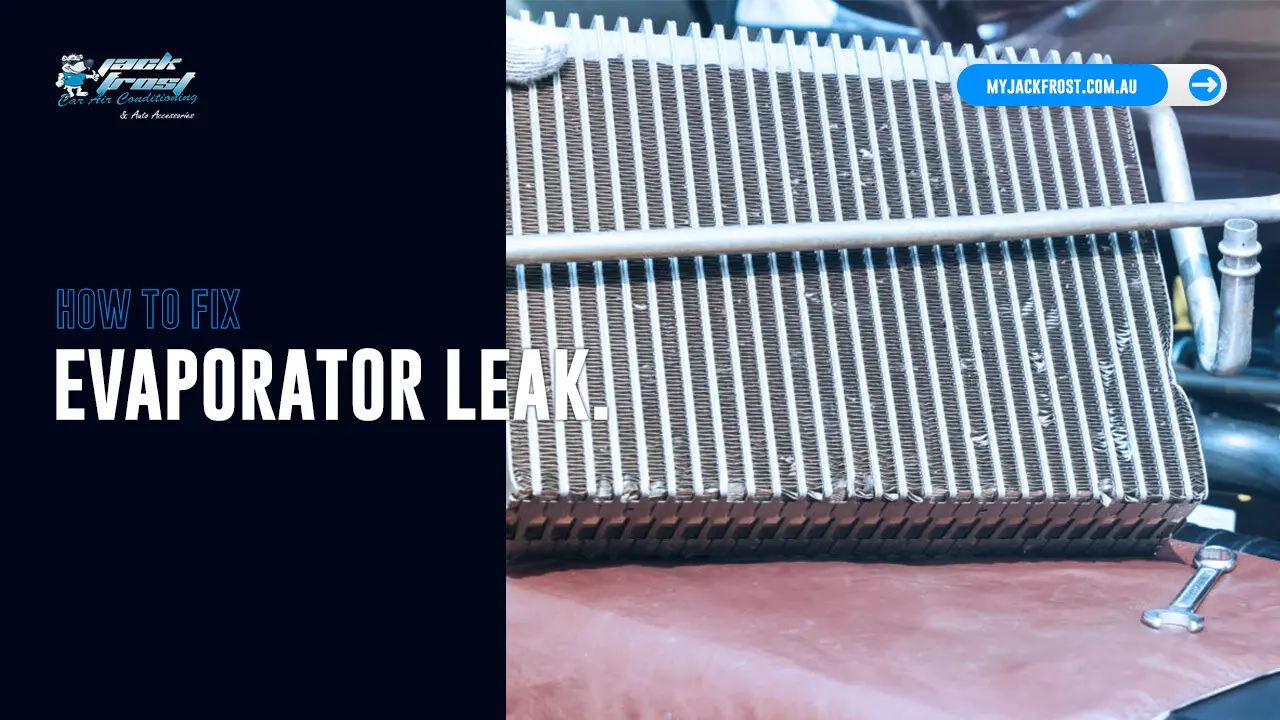
Credit: myjackfrost.com.au
Aftercare And Preventive Measures
Once you’ve fixed the AC evaporator leak in your car, proper aftercare is critical. Effective aftercare not only ensures a cool ride but also extends the life of your AC system. Let’s explore essential steps for maintaining a leak-free air conditioning experience.
Recharging The Ac System
Recharging the AC system is a key step after fixing a leak. The process involves refilling the system with refrigerant to optimal levels. Keep watch on the system’s performance. Uneven cooling or other issues might hint at underlying problems.
- Turn off the engine before you start.
- Locate the low-pressure service port.
- Use the correct type of refrigerant.
- Check for leaks before, during, and after recharging.
Regular Maintenance Tips
Consistent maintenance protects your car’s AC system. Stick to a schedule to catch issues before they escalate.
| Maintenance Task | Frequency |
|---|---|
| Visual inspection of belts and hoses | Every oil change |
| Cabin air filter replacement | Every 15,000 to 30,000 miles |
| Check refrigerant levels | Annually |
| AC system performance check | Before summer season |
Always reference the owner’s manual for specific guidelines tailored to your vehicle.
When To Seek Professional Help
Professional assistance guarantees a thorough fix. If problems persist or the task seems overwhelming, seek an expert.
- Unusual noises during AC operation.
- Little to no cooling even after recharging.
- AC components are complex and delicate.
Qualified technicians have the tools and knowledge. They ensure your car stays cool and comfortable.
Credit: www.americanprideautomotive.com
Frequently Asked Questions Of How To Fix Ac Evaporator Leak In Car
Can A Car Ac Evaporator Leak Be Sealed?
Yes, a car AC evaporator leak can often be sealed. Specialized sealants are available that can temporarily fix small leaks. However, for a lasting repair, professional replacement of the evaporator may be necessary.
How Do I Detect An Ac Evaporator Leak?
Detecting an AC evaporator leak usually involves a UV dye test or the use of an electronic leak detector. The dye, once circulated through the system, reveals leaks under a UV light. An electronic detector senses refrigerant fumes outside the system.
What Causes Car Ac Evaporator Leaks?
Car AC evaporator leaks are often caused by corrosion, physical damage, or wear and tear over time. Environmental factors like road salt or moisture can accelerate this corrosion and lead to leaks.
How Much Does It Cost To Fix An Ac Evaporator Leak?
The cost to fix an AC evaporator leak varies. It can range from $100 to $150 for a temporary sealant job to $600 to $1000 for a full replacement, including parts and labor. Prices fluctuate based on car model and repair shop.
Conclusion
Repairing an AC evaporator leak boosts car comfort and efficiency. Tackling it promptly saves money and avoids larger issues. Always seek professional advice when in doubt. Your DIY journey or mechanic visit will ensure a cool, refreshingly leak-free drive. Remember, a well-maintained car keeps the heat at bay!