How to Fix Oil Cooler Leak
To fix an oil cooler leak, first identify the leak source and then replace the damaged seals or cooler. A regular inspection can prevent leaks by detecting issues early.
Oil cooler leaks can lead to serious engine problems if not addressed promptly. Common signs include oil puddles under your car and elevated engine temperatures. Repairing an oil cooler leak starts with a thorough diagnosis to pinpoint the exact cause.
Mechanics typically check for damaged seals, cracked lines, or a compromised oil cooler. Replacing the faulty components is crucial for maintaining optimal engine performance and preventing further damage. Regular vehicle maintenance includes checking the oil cooler for signs of wear and tear. This proactive approach can save car owners from costly repairs and extended vehicle downtime. Trusting a professional for complex issues like an oil cooler leak is a wise decision, ensuring the integrity of your engine’s cooling system is preserved.

Credit: m.youtube.com
Symptoms Of An Oil Cooler Leak
An oil cooler leak is a serious issue. It can harm your engine. Knowing the symptoms helps to fix it quickly. Spotting these warning signs is key to avoiding major damage. Learn to recognize the symptoms early.
Visible Oil Patches
Oil spots under your car are a clear sign. These patches show where oil may be leaking. Checking beneath your parked vehicle is a smart habit. Clean oil is light brown. Old oil is dark. Note the color of any spots. This helps identify the leak source.
Overheating Engine
Your engine stays cool thanks to the oil cooler. If it leaks, the engine gets too hot. An overheated engine is bad news. The temperature gauge rises quickly. Stop the car if this happens. An overheating engine can lead to a breakdown.
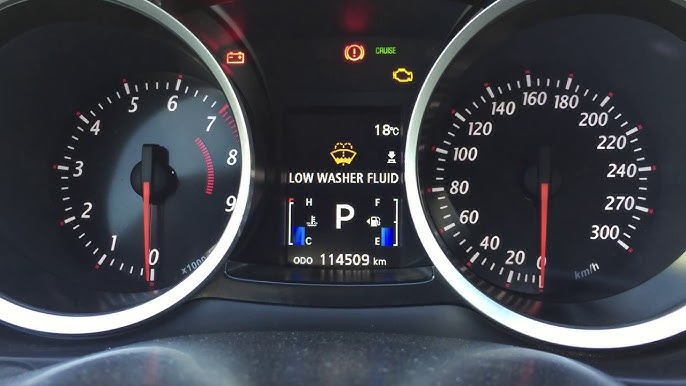
Low Oil Pressure Warning
A low oil pressure warning signals trouble. This light or gauge alerts you. It means the oil is not flowing well. It might be due to a leak. The engine needs enough oil pressure to work right. Keep an eye on your dashboard for this important warning.
Locating The Oil Cooler Leak
An oil cooler leak can cause serious engine damage if not fixed quickly. Knowing where to look is the first step. This guide shows how to locate an oil cooler leak accurately.
Inspection Of Oil Cooler Lines
Start by visually checking the oil cooler lines. These are the tubes that carry oil to and from the cooler. Look closely for signs of:
- Wetness or oil residue which can indicate a leak
- Cracks or wear on the lines
- Damaged connections at entry or exit points
Use a flashlight to inspect hard-to-see areas. Ensure your car is cold and stationary during this process.
Checking Oil Cooler Seals
The oil cooler has seals that can wear out over time. Inspect these seals for damage or deterioration. To do this:
- Clean the area around the seals thoroughly
- Check for oil traces around the seal edges
- Feel the seals for any brittleness or cracking
Ensure the engine is not running to avoid injury when checking the seals.
Diagnostic Tools Usage
For a more precise diagnosis, use diagnostic tools:
| Tool | Function |
|---|---|
| Pressure Tester | Applies pressure to pinpoint leaks |
| Leak Detection Dye | Reveals oil leak points under UV light |
| Borescope Camera | Provides a close-up view of hard-to-reach places |
Use these tools following the manufacturer’s instructions for safety and accuracy.
Preparation For Repair
Before diving into the repair of an oil cooler leak, proper preparation ensures a smooth and safe procedure. Adequacy in tools and a keen sense of safety will guide DIY enthusiasts and professionals alike. Vehicle preparation lays the groundwork for an effective repair.
Tools And Materials Needed
Make sure to gather the necessary items before you begin:
- Wrench set to remove bolts and fittings
- Screwdrivers for miscellaneous components
- Oil drain pan to collect any leaking fluid
- New oil cooler or gasket kit, if needed
- Coolant and engine oil for replacement after repair
- Clean rags for wiping away debris and spills
Safety Precautions
A safe repair process protects both you and your vehicle:
- Wear safety glasses to guard your eyes from fluids
- Use mechanic gloves to prevent skin contamination
- Work in a well-ventilated area to avoid fume inhalation
- Ensure the engine is cool to prevent burns
- Chock the wheels to prevent the vehicle from moving
Vehicle Preparation
Proper vehicle setup is crucial for a hassle-free repair:
- Let the engine cool down to avoid burns.
- Park on a flat surface and engage the parking brake.
- Use wheel chocks for added stability.
- Place an oil drain pan beneath the oil cooler to catch drips.
- Detach any components obstructing the oil cooler for easy access.
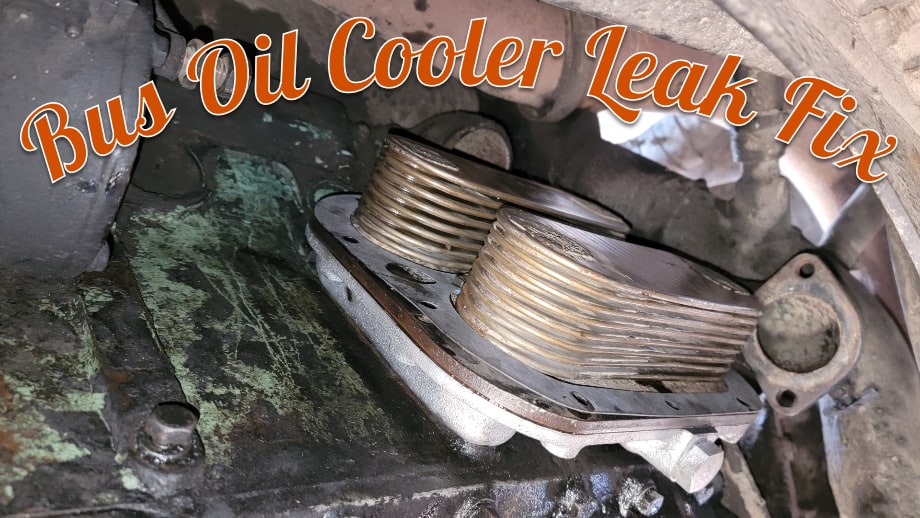
Credit: www.beginningfromthismorning.com
Step-by-step Repair Process
Fixing an oil cooler leak can be a daunting task for many vehicle owners. With a structured approach, this maintenance issue becomes manageable. The guide below provides a straightforward, step-by-step repair process to tackle the oil cooler leak efficiently.
Draining The Oil
Draining the engine oil is the initial step in repairing an oil cooler leak. Use the following steps to ensure a clean and safe operation:
- Warm up the engine slightly to thin the oil.
- Place a drain pan under the oil pan.
- Remove the oil drain plug carefully.
- Allow the oil to fully drain into the pan.
- Replace the drain plug once the oil has emptied.
Removing Faulty Components
After draining the oil, the next step involves removing the defective parts. Follow these guidelines:
- Locate the oil cooler and disconnect any attached hoses.
- Unscrew and remove brackets or mounts securing the cooler.
- Carefully take out the cooler to inspect for damage.
Installing New Parts
With the old cooler removed, it’s time to install the new parts. Adhere to these steps for replacement:
- Compare the new cooler with the old one for compatibility.
- Mount the new cooler securely in place.
- Reattach any hoses or lines to the new cooler.
- Ensure all connections are tight and leak-free.
Refilling Oil And Coolant
The final step involves refilling your vehicle with oil and coolant. Here’s how to replenish these vital fluids:
| Fluid Type | Refilling Steps |
|---|---|
| Engine Oil |
|
| Coolant |
|
After Repair: Testing And Prevention
Fixing an oil cooler leak is just the first step in ensuring your vehicle’s robust performance.
Testing For Leaks
Once repairs are complete, testing for leaks is essential to confirm the fix.
- Clean the repair area thoroughly.
- Apply pressure to the oil cooling system.
- Monitor for signs of oil or dye leakage.
- Check connections and seals closely.
Engine Performance Check
Assessing engine performance post-repair highlights any issues.
- Start the engine and let it reach operating temperature.
- Listen for unusual sounds indicating potential leaks.
- Watch temperature gauges for overheating signs.
- Check the oil level and quality.
Maintenance Tips To Avoid Future Leaks
Prevent future leaks with regular maintenance.
| Maintenance Task | Frequency |
|---|---|
| Check oil level | Every 1,000 miles |
| Inspect hoses and seals | Every oil change |
| Replace oil and filter | Every 3,000-5,000 miles |
| Flush cooling system | Every 40,000 miles |
Remember to use high-quality replacement parts and correct oil grades.
Keep a leak detection kit handy for regular checks.
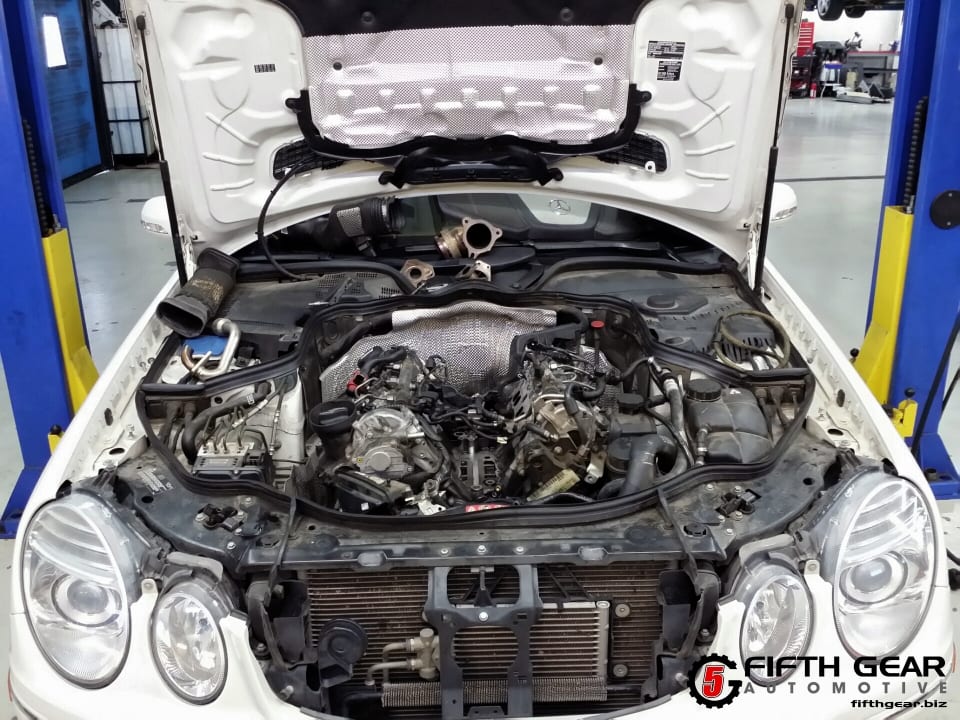
Credit: fifthgear.biz
Frequently Asked Questions Of How To Fix Oil Cooler Leak
What Causes An Oil Cooler To Leak?
A leak in an oil cooler can stem from a few issues. Often, it’s due to brittle or worn gaskets and seals. Over time, these components deteriorate. Vibration and heat can also stress the oil cooler, causing cracks where oil escapes.
Can You Drive With A Leaking Oil Cooler?
Driving with a leaking oil cooler is not recommended. It can lead to insufficient lubrication in your engine. This increases the risk of overheating and engine damage. If you notice a leak, have it inspected and repaired as soon as possible.
How Do You Diagnose An Oil Cooler Leak?
To diagnose an oil cooler leak, check for oil in the coolant, or coolant in the oil. These are signs of a failed cooler. Look for visible leaks or oil spots under the vehicle. It’s advisable to have a mechanic perform a pressure test for an accurate diagnosis.
What Is The Cost To Fix An Oil Cooler Leak?
The cost to fix an oil cooler leak varies by location and vehicle make. On average, it can range from $100 to $400 for a replacement cooler and labor. High-end or specialty vehicles may incur a higher repair cost due to more expensive parts.
Conclusion
Addressing an oil cooler leak promptly ensures your vehicle stays in top condition. Remember to spot signs early, choose the right sealant, and follow our step-by-step guide. Tackling leaks with confidence saves time and money, keeping your engine healthy. Drive safe and maintain your ride for smooth journeys ahead.